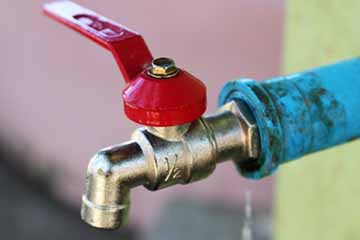
One of the most common reasons you might notice a drip from your water shut off valve is simply that it’s old. Age can definitely cause some issues with these valves, but they are also the type of thing that gets affected by corrosion and other problems in the system.
If you’re noticing constant dripping, this is usually an indication that there is something that needs tightening or replacing.
But no need to worry, this is very often a very simple fix.
Follow these simple steps and you should be able to fix a dropping shut off valve.
Step 1 – Tools Required
4-in-1 screwdriver
Adjustable wrench
Step 2 – Materials Required
A packing washer
Step 3 – Tighten The Packing Nut
Use the adjustable wrench to tighten the packing nut. This should stop the leak but if it doesn’t, then you know that you will also need to replace the washer. (That’s why you want to have that on hand!)
Step 4 – Replace The Washer
- Turn off the water to the valve that is leaking
- Remove the handle from the stem
- Remove the old washer
- Replace it with the new washer
- Replace the handle
- Tighten the packing nut
- Turn the water to the valve back on
These simple steps should stop a dripping valve but if they do not, we recommend that you contact a plumber to assess and fix the issue.
If you have any questions about your water shut off valve or are having some problems with it, call Atlantis Plumbing today at 770-505-8570. We are available 24 hours a day, 7 days a week.